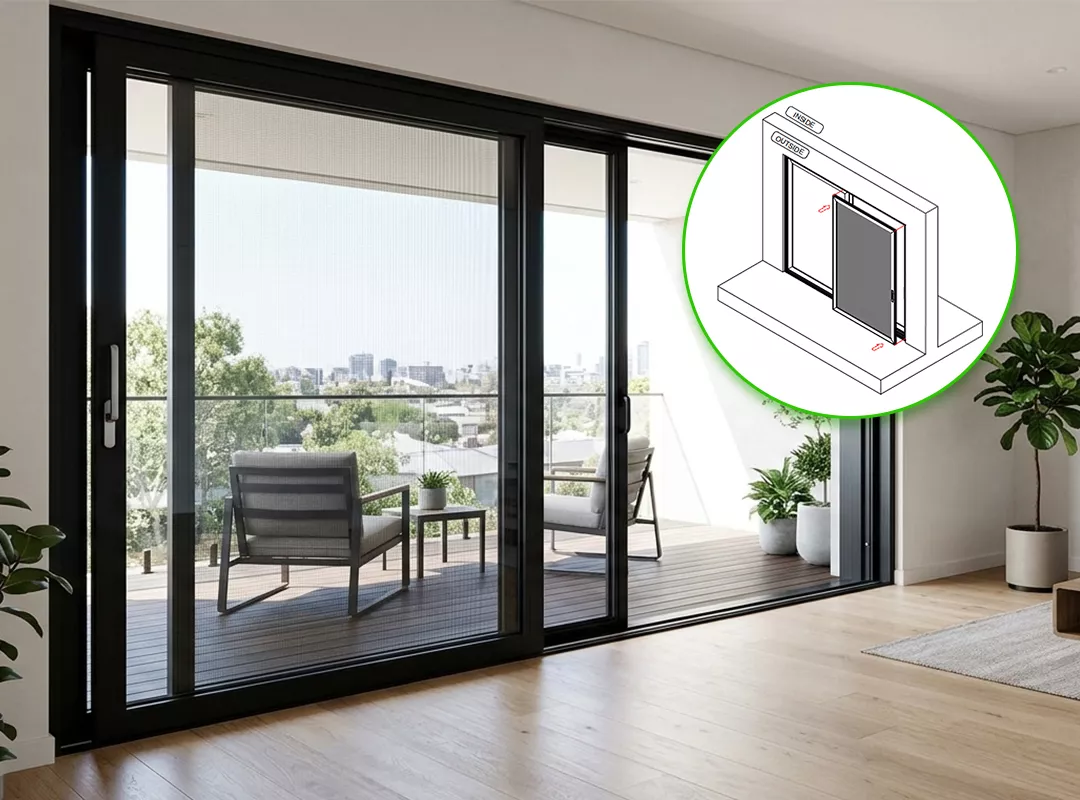
DIY Follow this sliding screen door installation guide to assemble, calibrate with laser level, and hang your door. Includes screen door frame assembly, shims, and lock test with red/green status.
1. Inspect Components – rails, stiles & wheels
Before beginning assembly, identify and verify all parts:
- rail Screen Frame Rails: Two rails. The one with the stainless steel slide rail and drainage holes is the bottom rail.
- stile Screen Frame Stiles: Two stiles. The side with the lock strike plate groove is the screen door locking side.
- panel Screen Door Panel: Identify orientation. The end with the wheels is the bottom.
- caps Decorative Caps: Four pieces. Please label them accordingly when removing them in the next step.
💡 Pro tip: Bottom rail includes drainage holes and a slide rail for smooth rolling. The stile with groove = lock side. Correct identification prevents mistakes during screen door frame assembly.
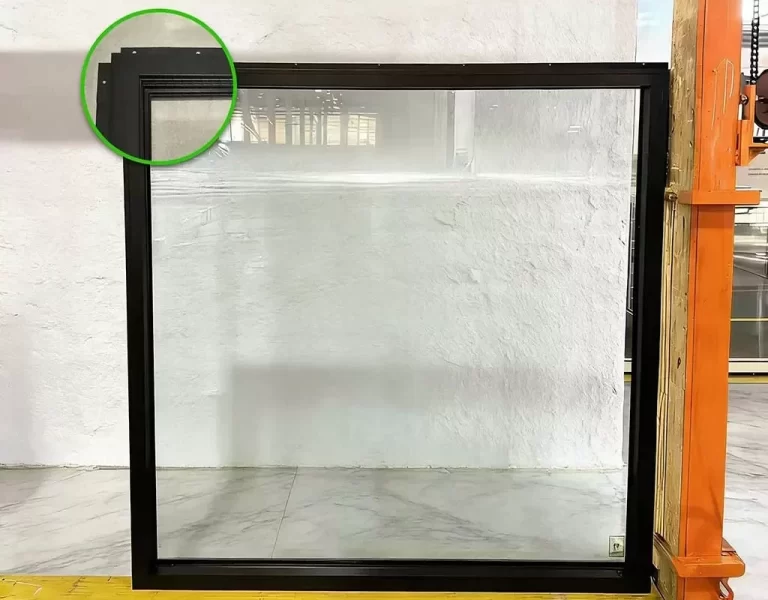
2. Assemble the Screen Frame
🔧 Remove decorative caps & use corner connectors
First, remove all decorative caps pre-installed on the screen frame pieces.
Assemble the identified top, bottom, left, and right frame pieces into a rectangle using the four 90-degree corner connectors. Ensure correct orientation (bottom rail has drainage holes, stile with groove aligns with the screen door’s lock side).
Then, secure each corner by tightening the provided screws into the pre-drilled holes.
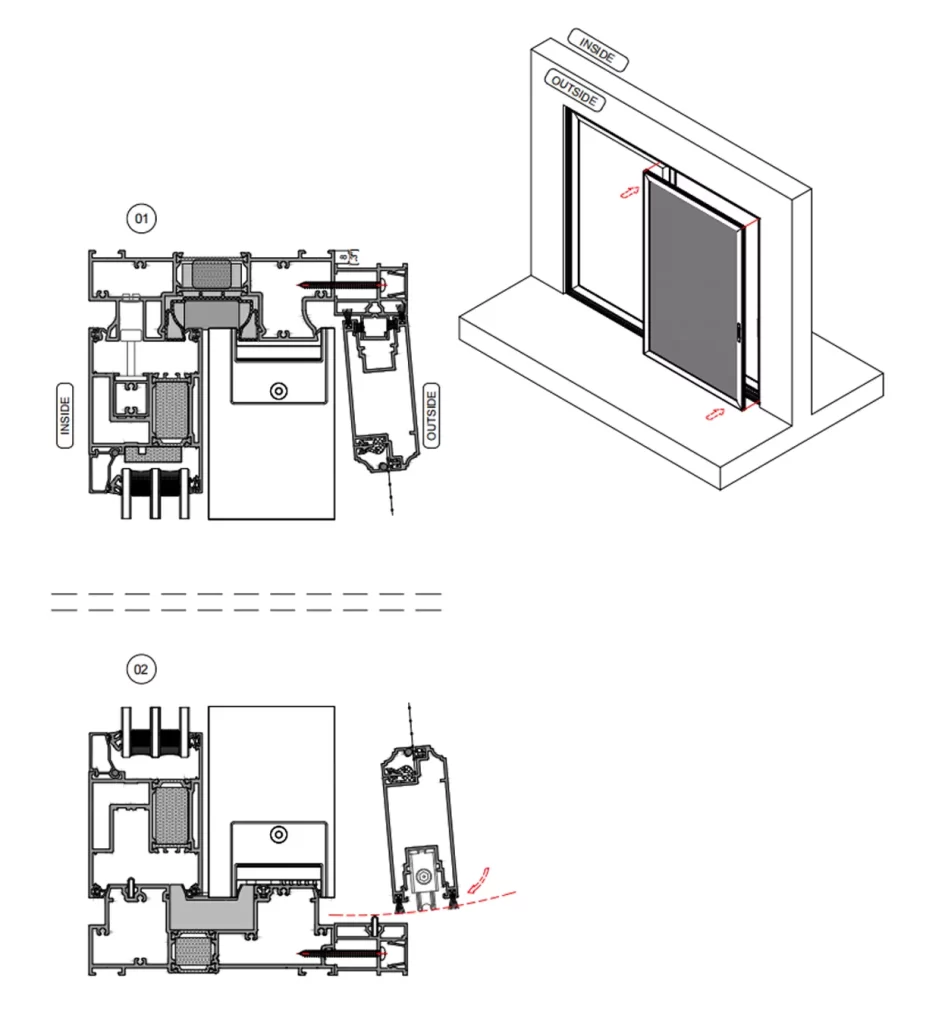
3. Install and Calibrate the Screen Frame
📍 Positioning and Leveling
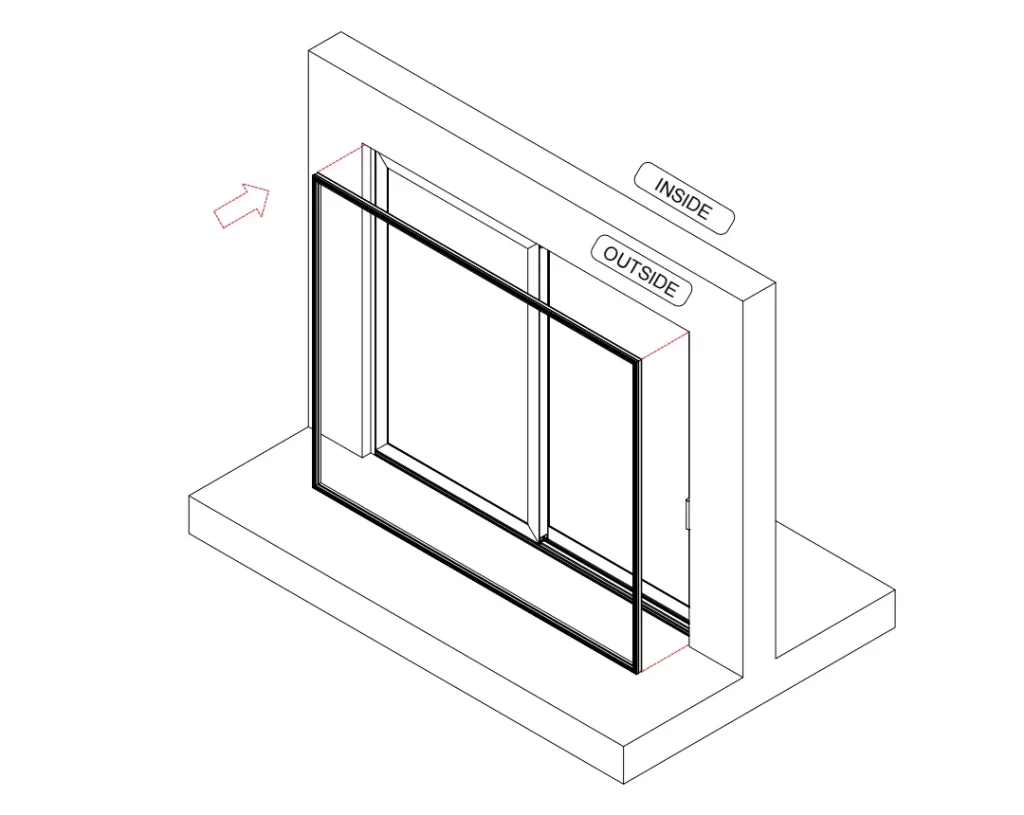
Place the assembled screen frame against the outdoor side of the sliding door frame. Place installation shims under the bottom rail to provide initial support and level the frame height. Insert fixing shims between both side stiles and the wall to ensure the frame’s vertical alignment.
🔎 Initial Calibration: laser level
Use a laser level to measure, ensuring the frame is perfectly plumb (vertical) and level (horizontal).
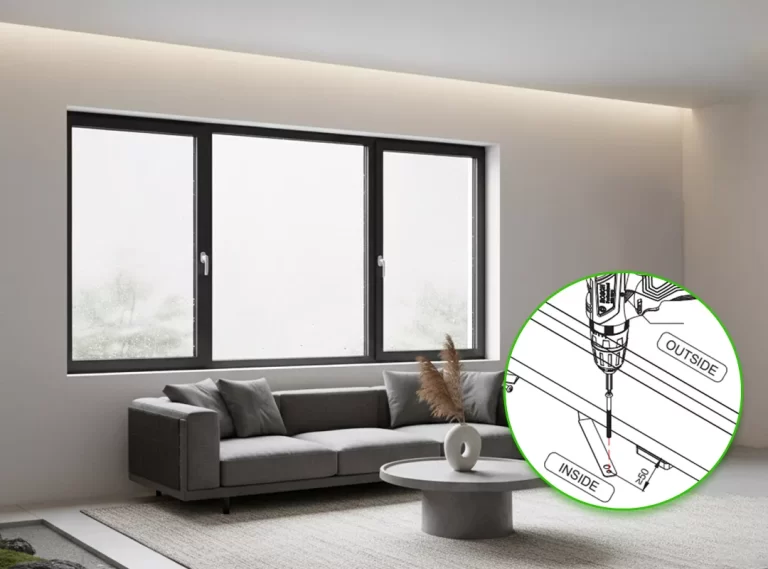
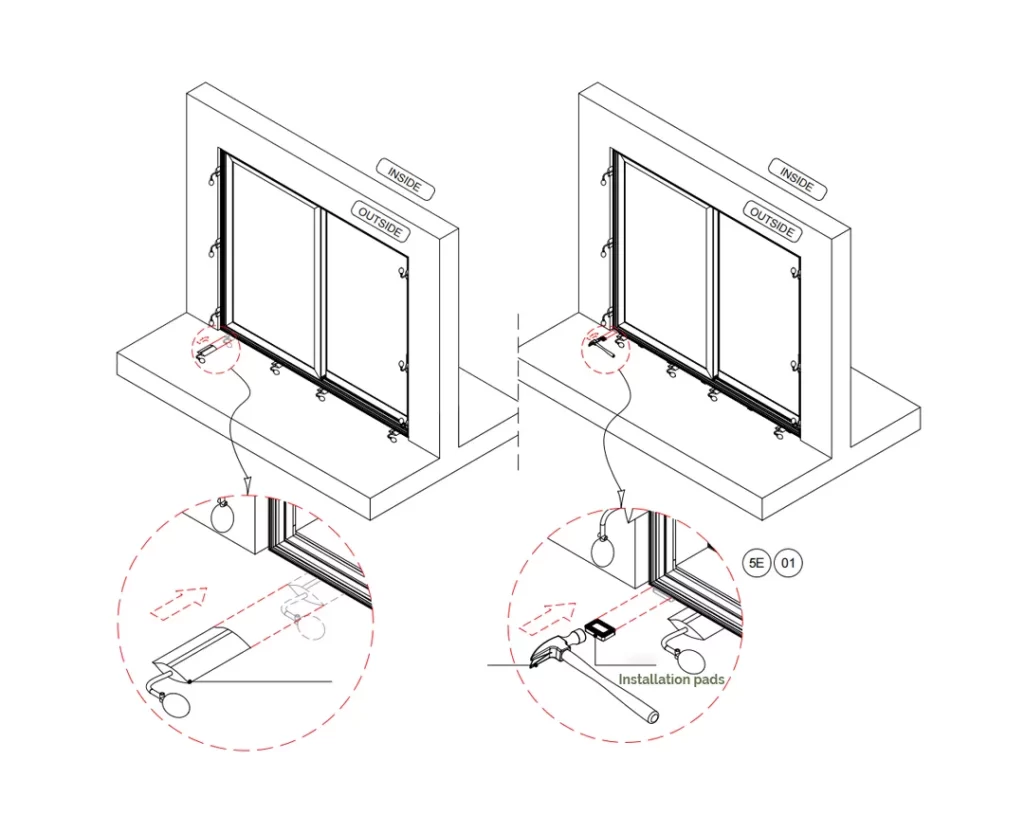
🔩 Secure the Frame
Fix the frame in place using ST4.2×50 self-tapping pan head screws. Note:
- The distance from screw holes to any corner should be no more than 150mm (approx. 5.9 inches).
- Spacing between screws on the same side should be 500-600mm (approx. 19.7-23.6 inches).
📏 Final Calibration (must-do)
You must use the laser level again to check that the frame is still plumb and level after all screws are tightened, ensuring no shifting or distortion occurred during fastening.
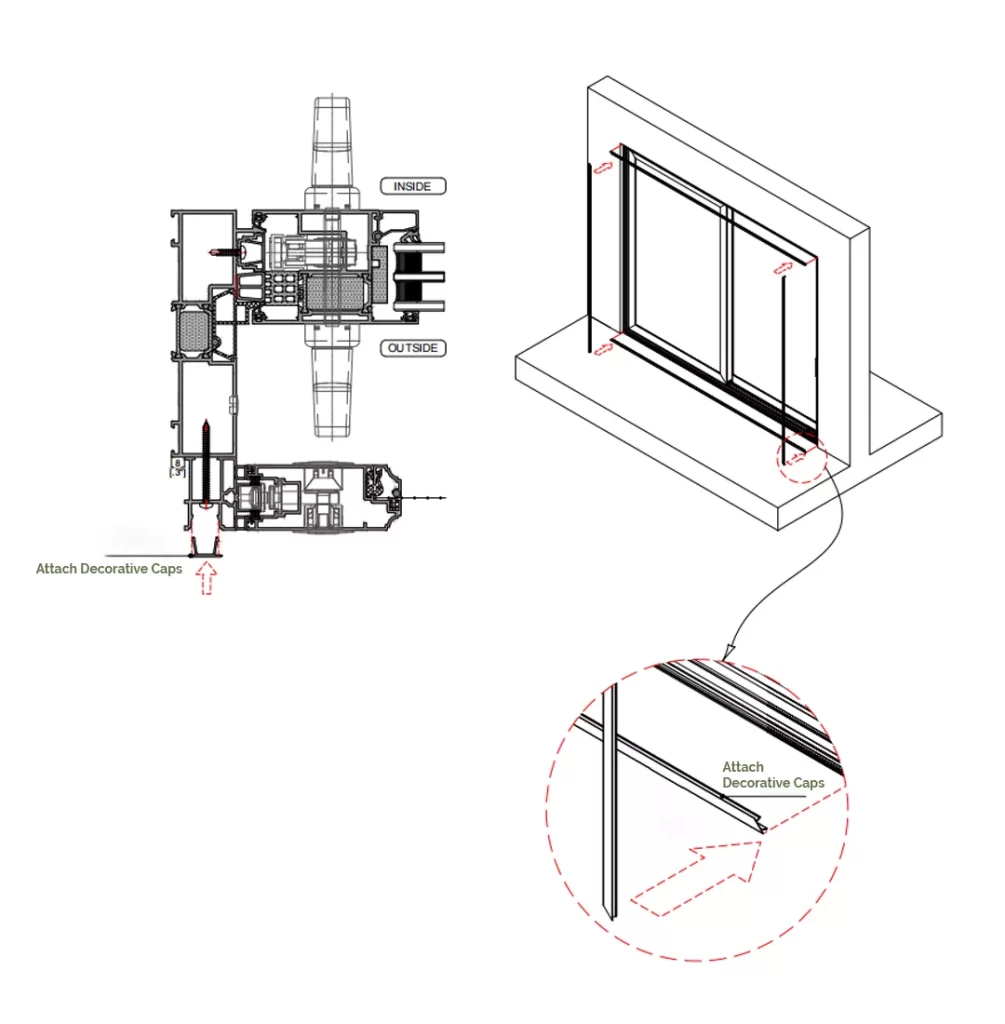
🎀 Attach Decorative Caps
Once confirmed, snap the corresponding decorative caps onto the screw holes in the order of top/bottom first, then left/right. This provides a clean, finished appearance.
4. Hang the Screen Door & Functional Tests
🚪 Hang the Door
First, tilt the top of the screen door (the end without wheels) into the upper track of the frame. Then, lower the bottom (wheeled end) into the bottom rail, ensuring the wheels are correctly seated on the stainless steel slide rail.
🔄 Sliding Test
Slide the door back and forth several times to check for smooth, consistent movement without sticking, rubbing, or unusual noise. (Adjust screen door rollers if needed for optimal glide.)
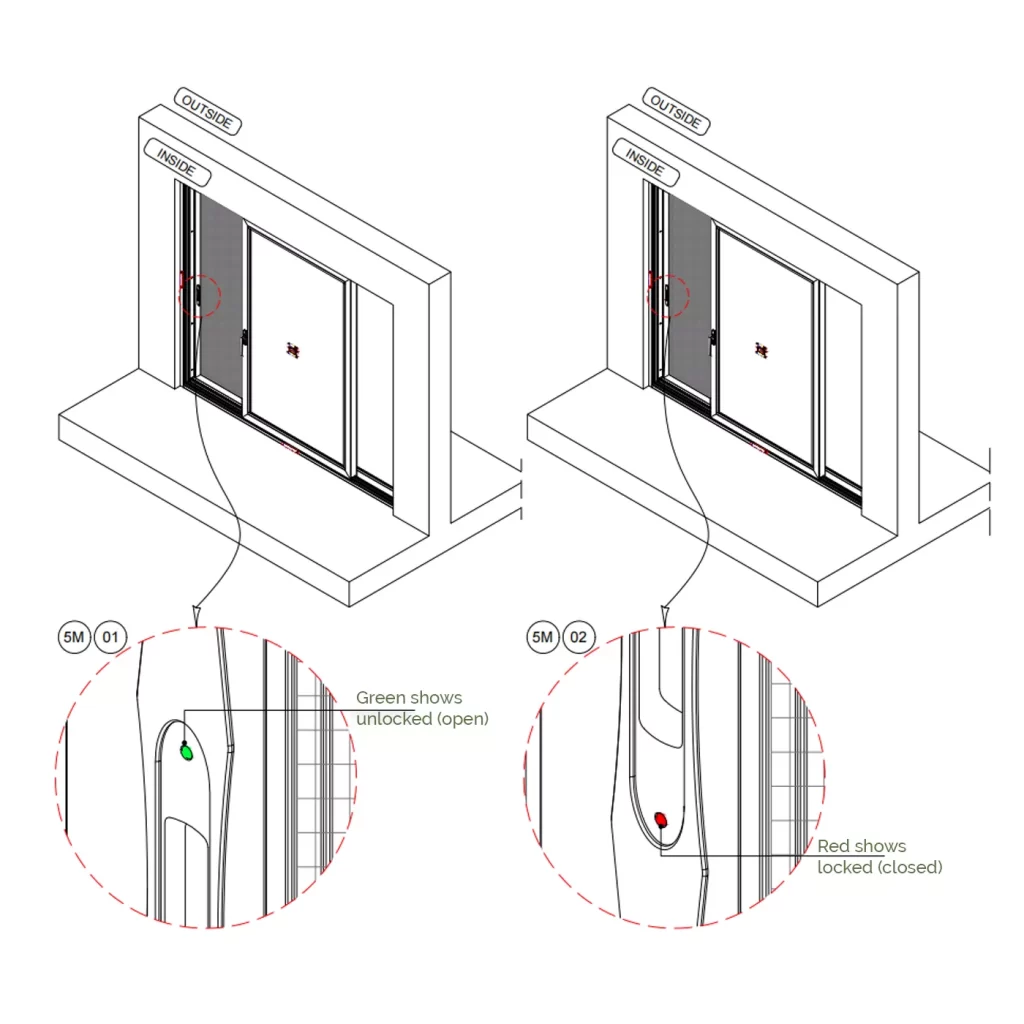
5. Lock Test & Final Verification
🔒 Lock Operation
Operate the screen door lock to confirm it engages and releases properly.
Lock status indicator:
Green = unlocked (open) Red = locked (closed)